We could not wait sharing the details of how Patricia made this layout! So, without any further ado – straight from her keypad to your screen – the step by step instructions on how to create the two main features on this page!! We hope you will give it a try!!!
I coloured the frosted glass with the following Alcohol Inks using the applicator tool, Terra Cotta, Sandal, Oregano and Willow. Make sure to use the frosted / textured side of the glass as it gives 'tooth' for the ink to grip on.
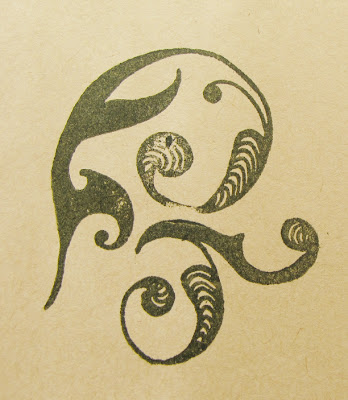
I then stamped an image on the inked side with clear embossing ink and powder. Heat with a heat tool. The image I stamped was also from the DT package, it is Creative Flourish from Layers of Colours.
Allow to cool, then rub the excess Alcohol Ink off with Blending solution.The image will dull a little, just give it a quick blast with the heat tool to bring the shine back! You now have an embossed image on the frosted glass.
Stamp the same image onto card stock. I used green ink on a cream card stock. White ink on black card stock also gives a stunning result. Place the memory glass onto the card stock image lining the two images up, cut the card stock to size and place both in the Memory Frame...I finished the frame of by adding a decorative corner accent onto it. Some ribbon and a little charm and Viola! a beautiful element for your page...
I used the circle that I cut out, punched it and raised it with foam squares to give some dimension to the page. I curled all the punched elements a little as well. Also did some stitching with hemp cord and added some half Pearls.
To punch the inside of a circle is also very easy and very effective on a LO...
On the back of my paper I get the centre and cut out a 11cm circle.
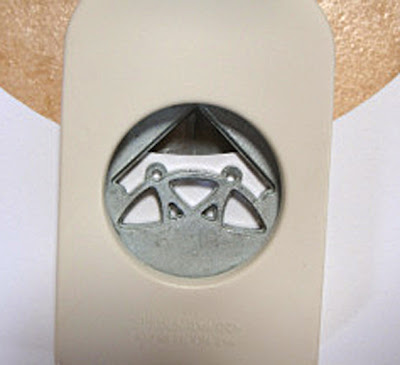
Using a corner punch with closed wings, I start punching from the inside. I start were I know I will place my flowers or decoration elements, for sometimes you might be a little of with the punching, leaving you with a little gap to hide.
Don't take your punch down all the way, have the top of the image just below the edge of the paper.
I turn my punch upside down in order to align the corner of the punch with the previously punched corner. The corners should just overlap ever so slightly!
Continue punching this way...
This will be the end result!
The papers I used from my pack are My Minds Eye; Life stories 'Green Damask' and Little Boy; Lava / Chocolate. I inked the edges with Vintage photo DI and sprayed the corners with Walnut Crystals diluted with water and some Gold Perfect Pearls added to it. The bench is from Celeb8 and was coloured with some Distress Markers. You will have to use a 13x23 cm photo, otherwise you will have the background paper showing.
We hope you are inspired to try these techniques yourself on a Scrapbook Page or a Card! All these products are available at www.scrapbookstudio.co.za!


No comments:
Post a Comment