t is December. Less than a month to Christmas. Wow.. this year just flew by in a blur of motion and I am still not organised for Christmas.... oh well, so it will be - again.
When my kids were little there was lots of excitement around Advent calenders. As they grew older they each developed their own take on an Advent Calender. The oldest would take it and eat all the treats on the first day. The second one left it till the 24th and then ate all the treats. The third one left it all till February before eating all the treats - gleefully in front of her brothers. She gets her payback - sometimes.
My first project for this month is an Advent Calender that I made. I had so much fun making this project!! All the products used in this project except for the patterned paper are available from the Scrapbook Studio.

To make this calender I used my trusty Silhouette to cut the calender as well as all the little bits of paper. The calender is a pattern I got from an online store called SVG Cuts. They have pretty awesome projects for various cutting machines. The front, back as well as the inserts were cut from white card stock. After they were cut the inserts and the front were inked with Walnut stain Distress ink and splattered with water.

The back page was coloured with some distress stain. This is the bit of the back you will see when you open the little door.

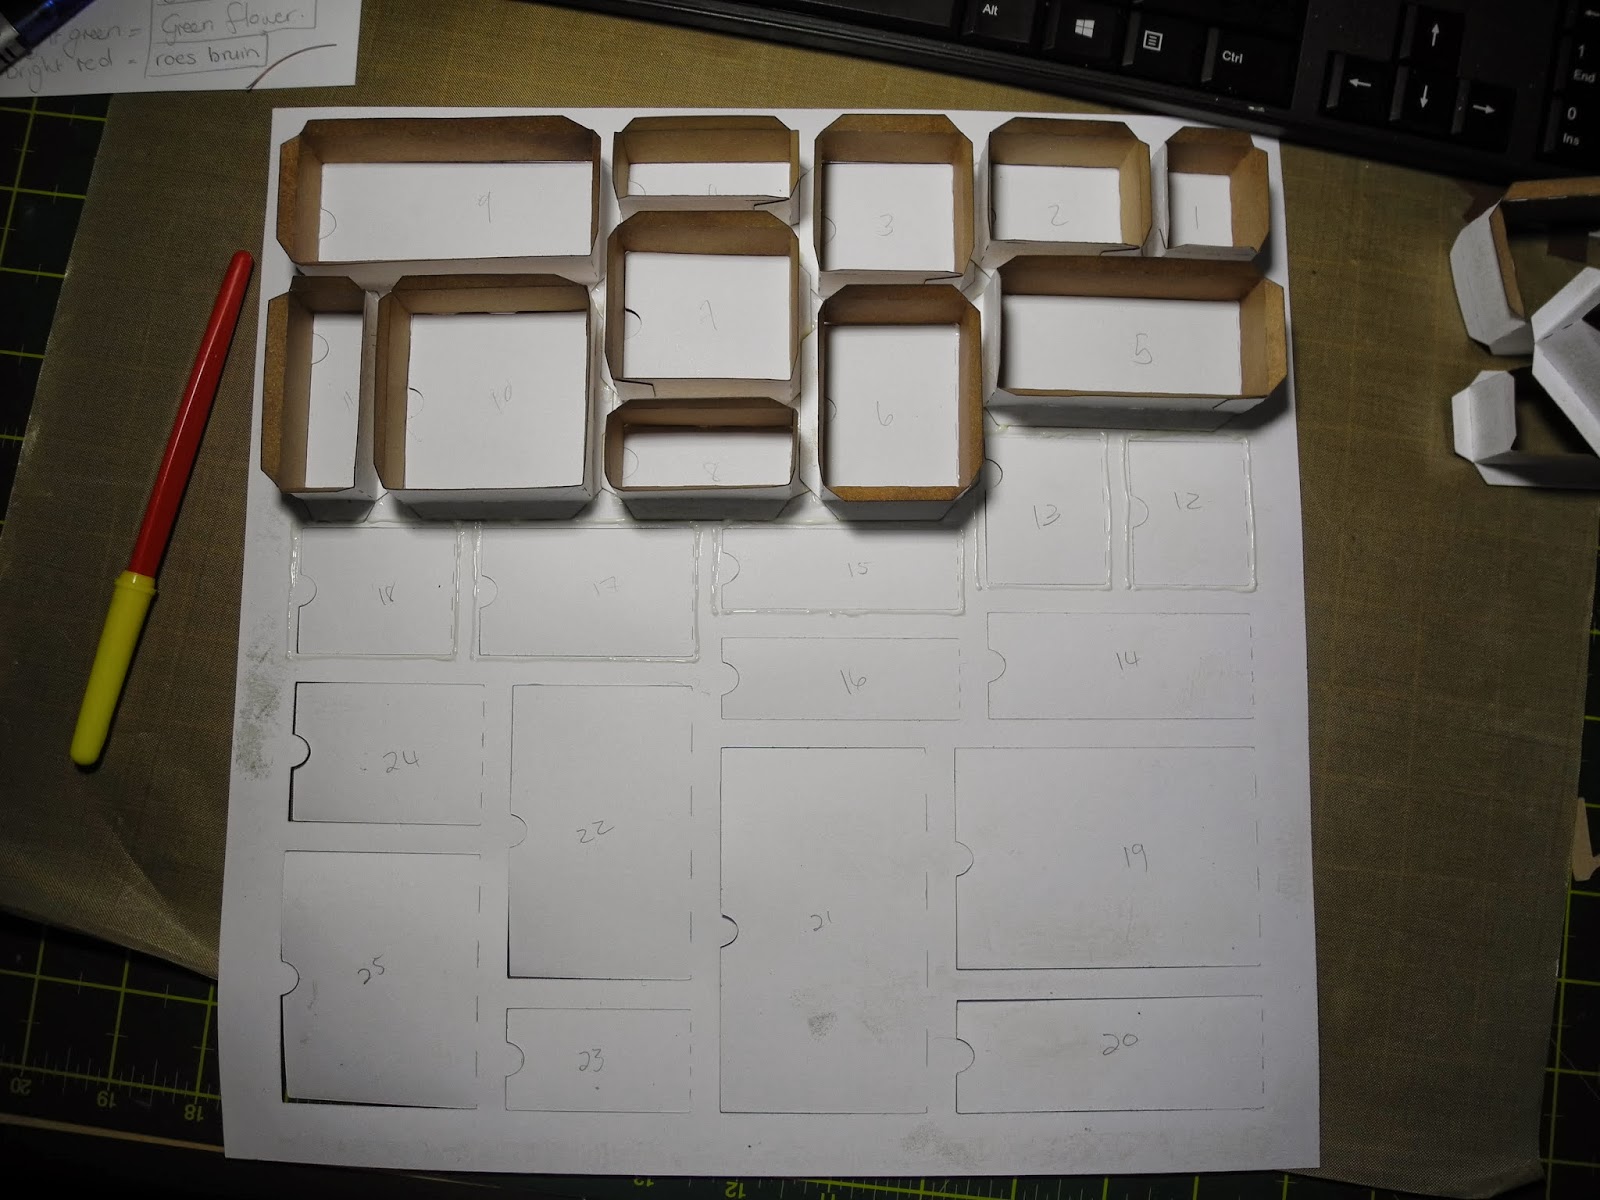
After this all the little inserts were inked, folded and glued together.

.....and then all the gluing started. Sorry for the bad photo but it was night time and I could not stop working, I was having way too much fun!!
The seam binding that forms the bow were coloured with some distress ink stain and attached to the side pieces with a stapler. The side pieces were then glued into place and the back was glued down. The front pieces of the calender was then attached in place. For the front I used some really old Kaisercraft Christmas paper 'Tis is the season collection from my stash as well as some leftover card stock.

The background of number 5 was stamped with watermark ink and then some gold perfect pearls were brushed over it.

I used some Cuttlebug embossing folders to add texture to some of the front pieces and brushed some more perfect pearls over it.

Number 21 was stamped with a Christmas stamp and some Walnut Stain distress ink.

This picture shows the piece of the background paper visible when the little door is open.
Thanks for stopping by. Good luck to all of your preparations and planning for a wonderful Christmas time. If you are in doubt as to what to give a loved one why not get them a gift voucher from Scrapbook Studio? To all of you traveling on our roads please be safe, to those staying home..... Happy Scrapping!!
Lee
Great idea!
ReplyDelete